
Table of Contents
How to set up your plugin using Git and GitHub
So, you have a plugin that you've worked hard on and want to share with the Indigo community. The Plugin Store is definitely the right place to do this, and you have a choice of approaches: directly manage the plugin yourself using our UI or use GitHub. Either choice is valid, but we think that once you get started with GitHub you'll find that managing everything there is a more consistent experience. And it has the additional advantage of allowing others to 1) report bugs, 2) contribute fixes and features to your plugin, and 3) help you maintain your docs (if you put them in the wiki for your plugin's repo). You have control over what to accept, but expanding the people helping to develop and support your plugin is likely to be a good thing.
This article is a simple how-to on getting started with GitHub. While the flow presented here isn't the only way to get started (there are a wide variety of options for using Git and GitHub), it is one approach that we know works.
Step 1: GitHub Account and App
The first step is to create your GitHub account on the GitHub website.
Once you've done this, download the GitHub Desktop application. While this isn't strictly required to use GitHub, I find it much easier than learning command-line tools - so the rest of this how-to will assume that you have it.
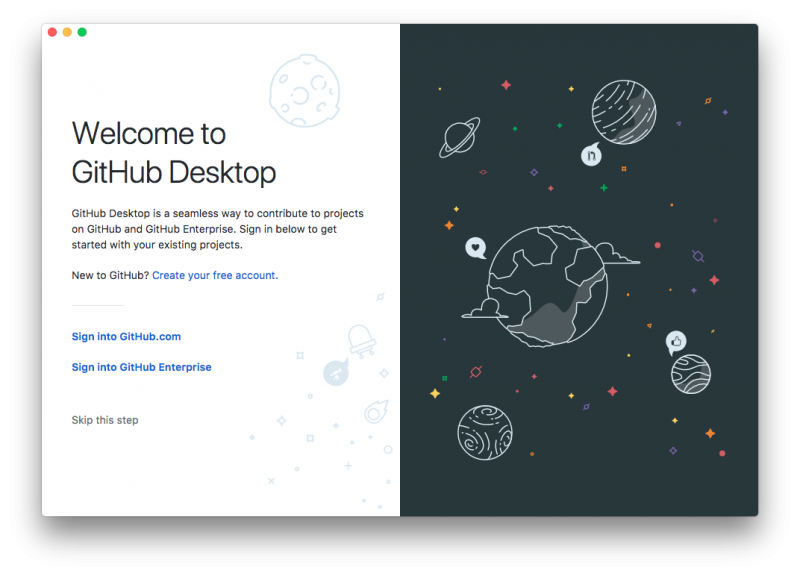
Open the GitHub Desktop app and log in using your newly created GitHub credentials.
Step 2: Create a new repo
Once you've logged in with GitHub Desktop, this is what you'll see:
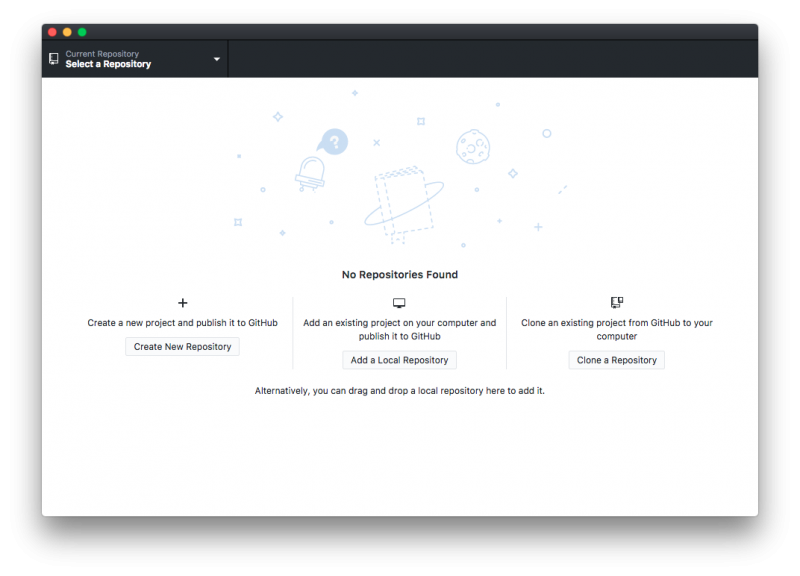
There are no repositories in the desktop app yet. Create a new one by clicking on the Create New Repository button:
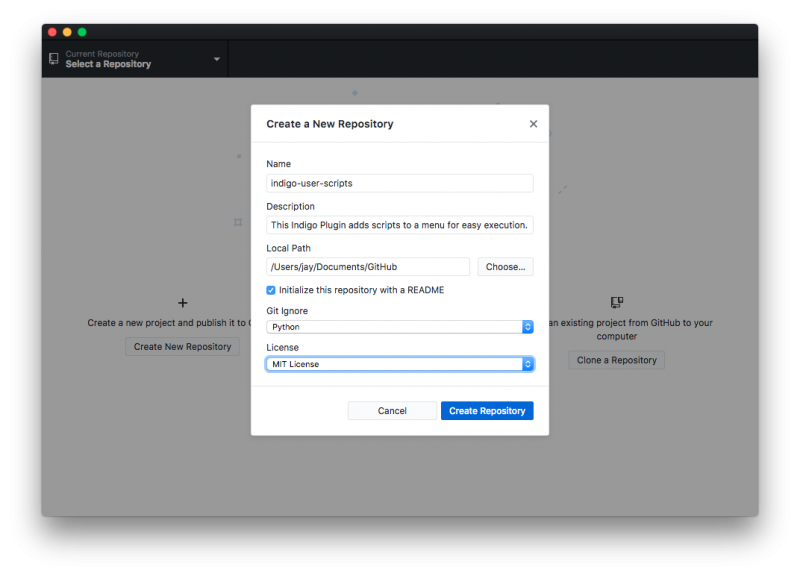
There are a few options:
- Select a name for your repository. It can't contain spaces since it's used as part of a URL.
- Include a brief description (this is what will end up showing when users mouse-over your plugin in the Plugin Store list).
- Set the path to where you want the repository to be creates. A repository, in it's physical manifestation, is just a folder that contains other files and folders. The only special thing about a Git repository is that it will contain some hidden files that store information about the rep.
- Make sure you check the
Initialize this repository with a READMEcheckbox - we use the README file as the source of your plugin's full description on the detail page. - Select
Pythonfrom theGit Ignorepopup - this tells Git that there are some files it should ignore when you perform operations on the repository (checkins, etc.). - Select a License that you want to release your source code under. MIT is a popular one because it's easy to read and understand and places very few limitations on source code use (also, The Unlicense is the least restrictive). Either of these two licenses have liability disclaimers which is probably the most important part. You don't have to add a license of course, but having a liability waver is probably a good idea.
Click the Create Repository button and you'll see your repository's Git status:
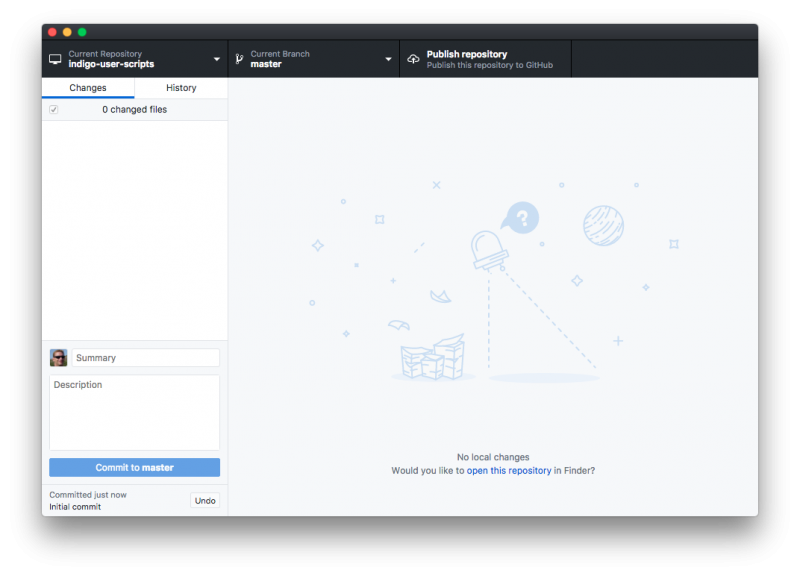
What that repo shows are outstanding changes you've made to the files in the repository since the last time you committed any. Committing a change (often referred to as checking in) just tells Git that it should remember the changes you've made (and, in the case of GitHub, what changes it needs to push up to your GitHub account so others can see them).
You haven't made any changes yet, so the list of changed files is 0. If you open the repository folder in the Finder, this is what you'd see:
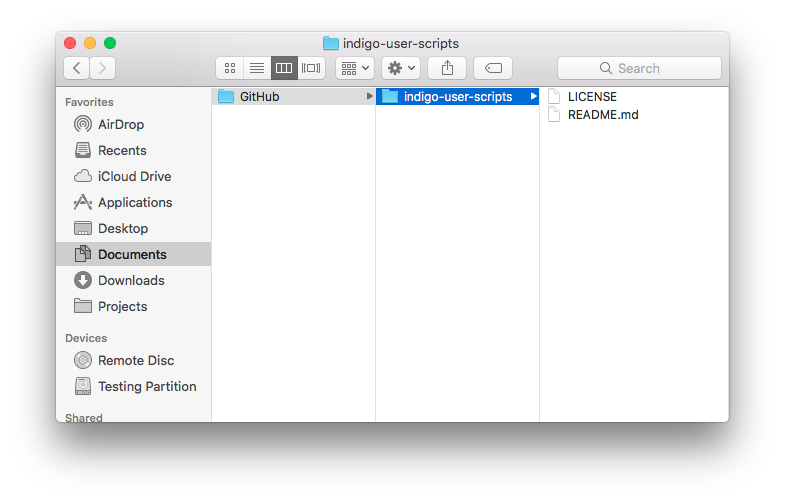
There you see the License file that contains the license you selected (it may be missing if you didn't specify a license). The other file you see is the README.md that you instructed Git to create for you (there are also some hidden files in there as well but you don't really need to know about those).
You are now ready to add your plugin (and any other files) to your repo.
Step 3: Adding your Plugin to the Repo
The next thing you want to do is add your plugin to the repo. Just drag your plugin to the repo folder:
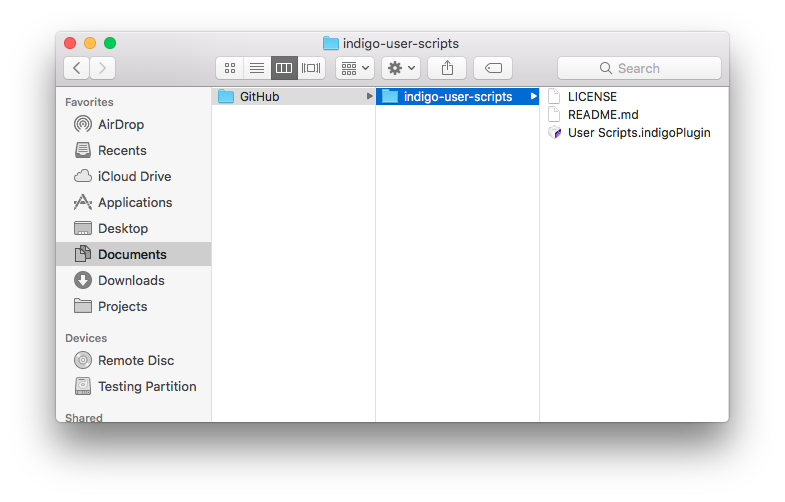
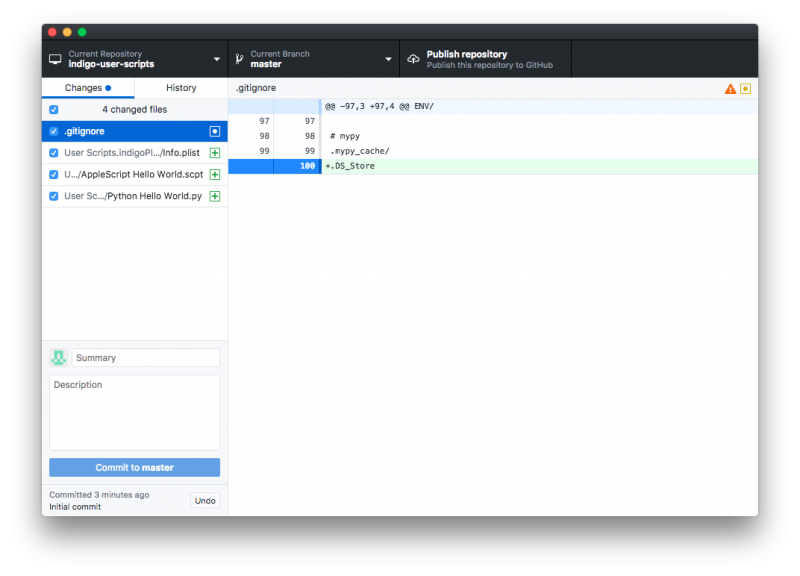
Now, if you switch back to GitHub Desktop, you'll now see that there are some new changes showing up:
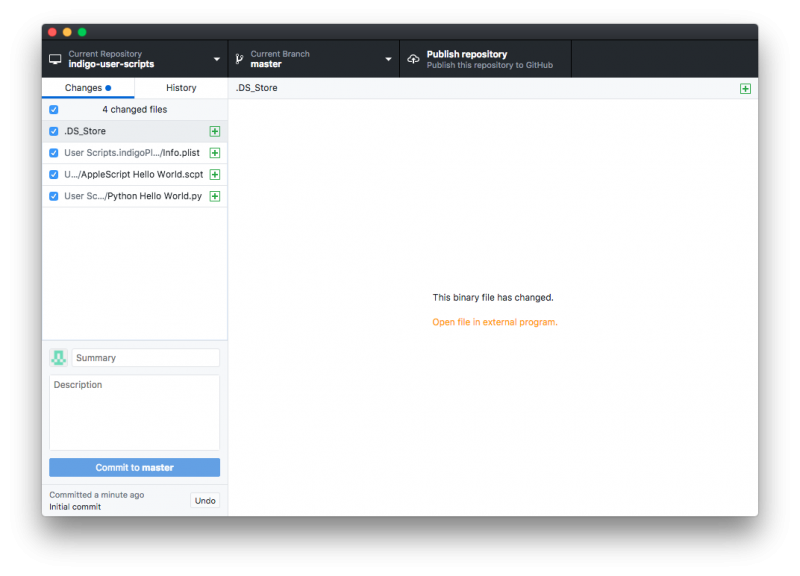
Notice that .DS_Store file? That's a file that every directory in macOS has, but it's completely useless to include as part of the repo. Right-click that file and select the Ignore menu item:
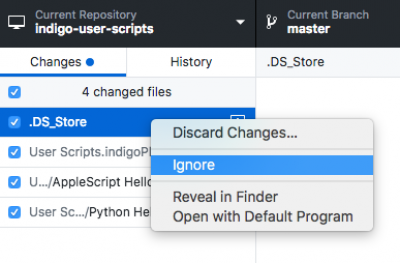
This tells Git to ignore all files named .DS_Store from now on. This is what you'll now see:
Now, instead of the .DS_Store file you see that there's been an update to the .gitignore file - that's the file that controls what files Git ignores and we've just added .DS_Store to it. You can tell the type of change by the icon to the right of the file name: a green + means that the file has been added but not yet committed and an orange dot indicates that a file has been changed since the last time it was committed.
Step 4: Add Detail to README
Before we commit the changes to the repo, let's go ahead and update the README.md file with a description of our plugin. README files on GitHub can come in a two different formats: the most common is Markdown (thus the .md suffix) though you can also make them plain text (add no suffix).
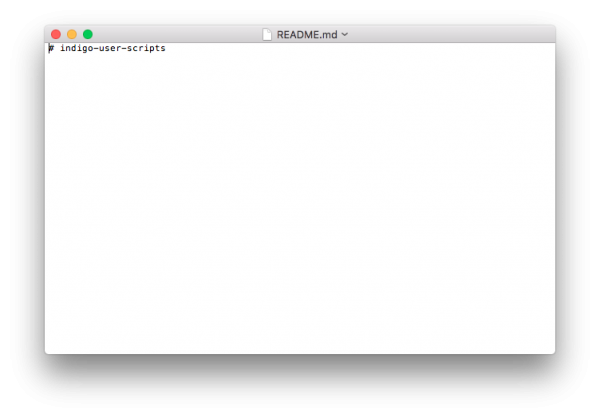
Your README will likely need to contain more information. Our example plugin is so simple it doesn't need much. By default, Git just inserts the repo name as a heading at the top of the README:
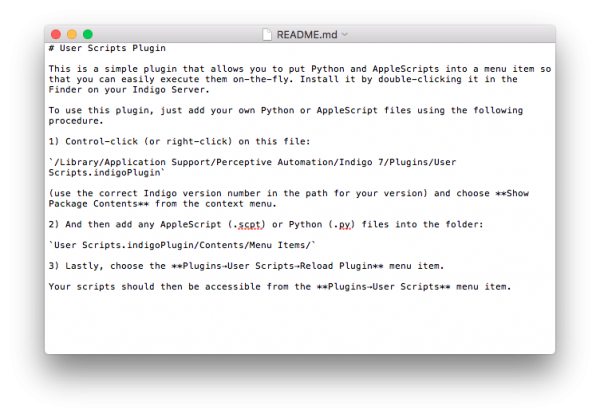
We just added a brief description of our plugin and usage since it's so simple:
Step 5: Commit and Publish
To briefly recap, you've created your GitHub account, downloaded the GitHub Desktop app, created a new local repository with some defaults, you've added your plugin and edited the README.md file. At this point, you're ready to commit your changes to the repo and publish those changes up to GitHub.
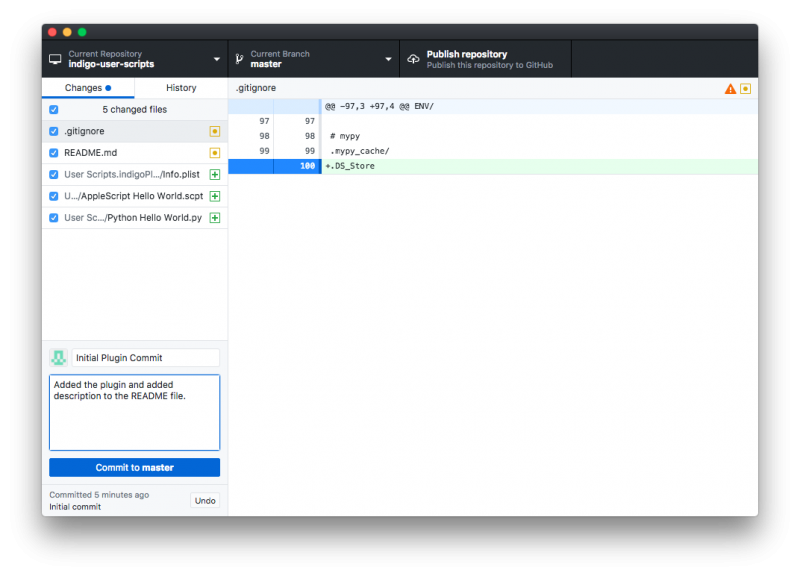
To commit the changes, make sure that all the changes in the GitHub app window are checked (they should be by default) and add a commit summary (very brief change description) and a description (which has more detail about the changes you're committing:
When you click the Commit to master button, you're telling your local Git repository that you want the changes to marked as permanent. Now, as long as your local repository exists, those changes will be present. But that process doesn't push the changes up to GitHub - they are only stored locally. To publish the changes to the GitHub server, you need to publish. Click the Publish Repository button in the tool bar at the top of the screen:

This will show you the Publish Repository dialog:
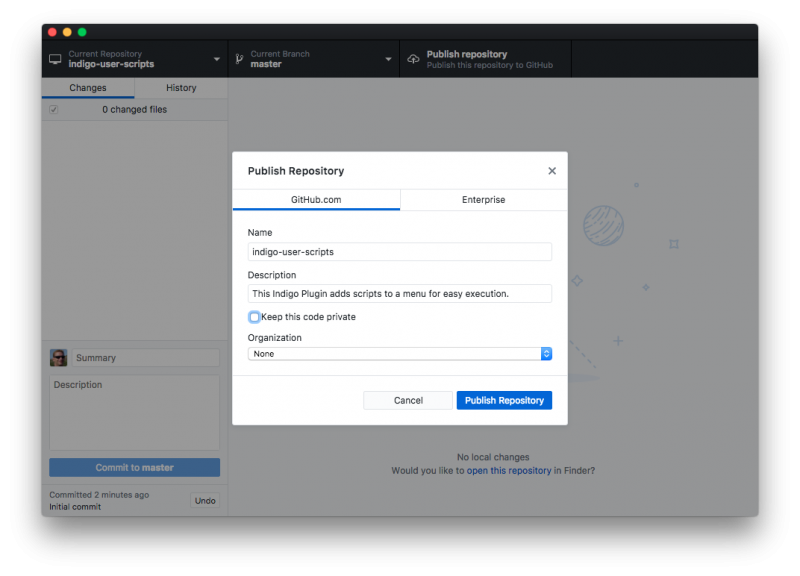
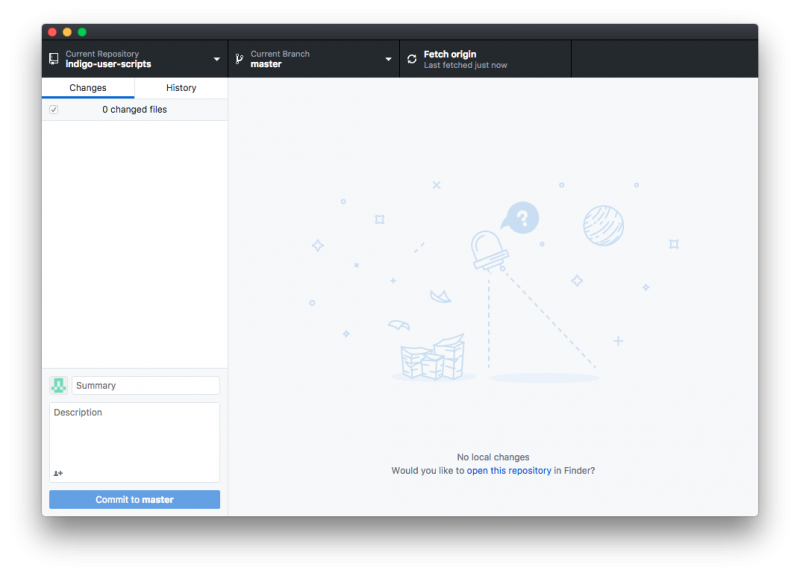
You can take this opportunity to adjust the repo description if you like (which can also be edited on the GitHub website). Make sure that you uncheck the Keep this code private button. Click the Publish Repository button. It will spin for a bit, then come back to your normal repo view:
Step 6: Create a release
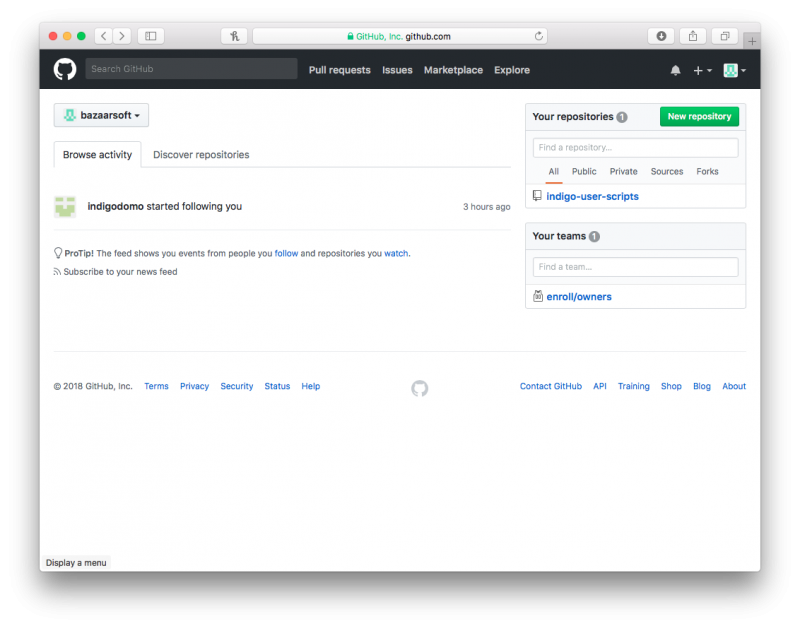
To manage releases, you need to use the GitHub Website. Log in to your GitHub account and you should now see your new repo in the Your Repositories section to the right:
Click on your repo and you'll go to the repo page:
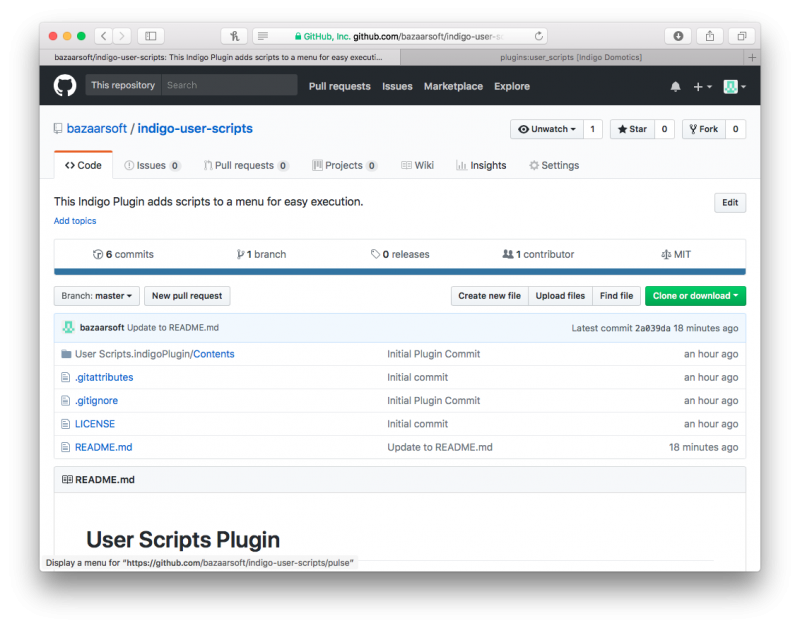
To create a release, click the 0 releases link on the toolbar above the file list. This will show you the releases that you've created for your plugin. We haven't done a release yet, so it'll be empty:
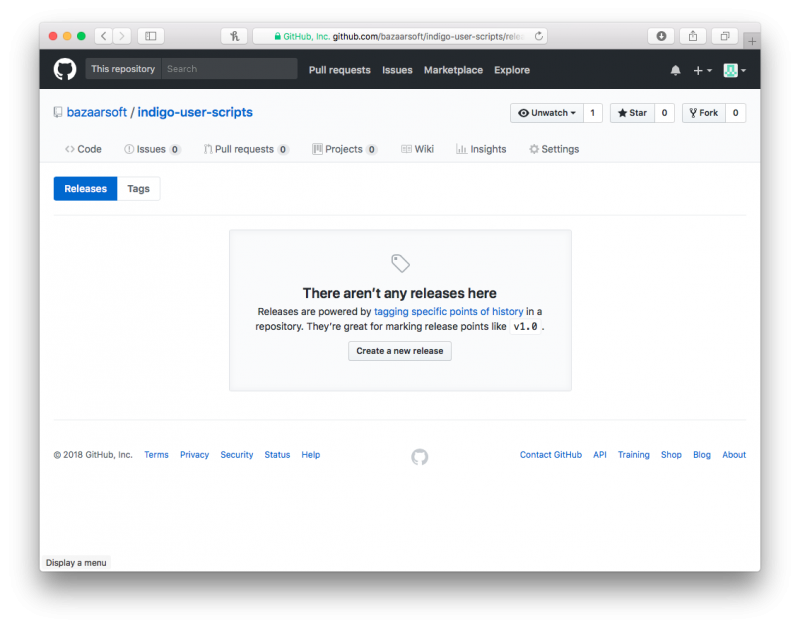
Click the Create a new release button to get the release edit page:
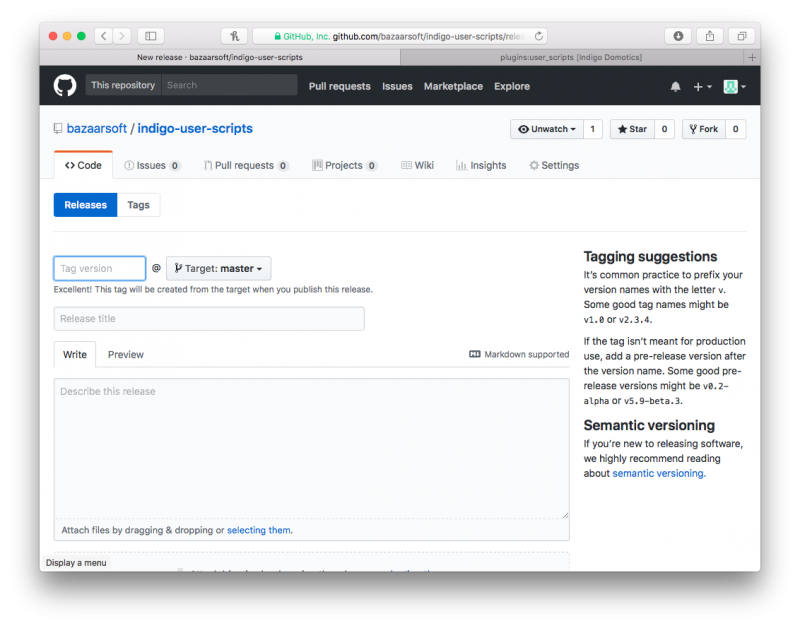
For the Tag version, Indigo expects a 3 digit version number of the form X.Y.Z (no 'v' before, no alphabetics, etc). For our purposes, we'll use 1.0.0. IMPORTANT NOTE: what you enter here must exactly match the PluginVersion element in your plugin's Info.plist. We will reject the release if it doesn't.
There is only a single target (called master) at present so you can just leave that dropdown alone.
Next, give your release a brief title. We'll show this title in the table of releases for your Plugin in the Store. Write a longer description which we'll also show when the user discloses the release details in the plugin's releases page in the store. This is a great place to summarize the changes, add changed requirements, etc. Markdown is also supported in the description field so you can add basic styling (such as lists).
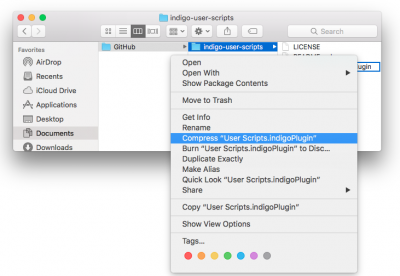
The next sub-step is optional, but it makes for a better experience for users we think. Create a zip archive on your Mac of just the plugin:
Then upload that archive to your release by dragging/dropping it into the appropriate section below the Description field:
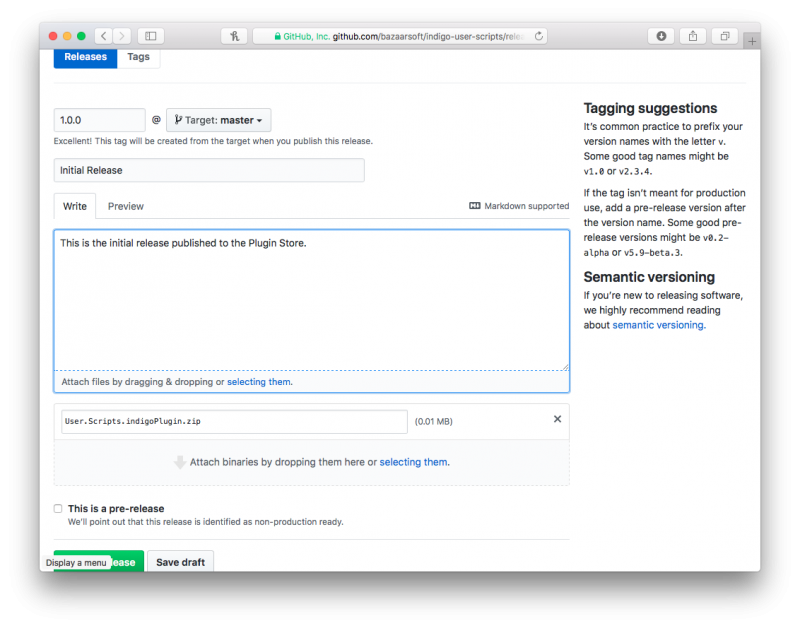
Doing this in a release will result in just the plugin itself to get downloaded to the user's Mac when they click the Download link on the Plugin Store page. If you don't do this, then what gets downloaded is a ZIP archive of the entire repository as it stands when you create the release. So, from the user's perspective, it downloads a folder which they have to look inside of to find the plugin among the other things in the repo.
Only published releases (not pre-releases) will be added to the Plugin Store's release list. The Plugin Store currently doesn't support listing betas (pre-releases) but you can still create them and point your beta testers to them on GitHub (one of the advantages to using GitHub). So, don't check the pre-release button unless you don't want to publish it to the Plugin Store.
Click the Publish Release button at the bottom left and you'll see your release as others would if they looked on GitHub:
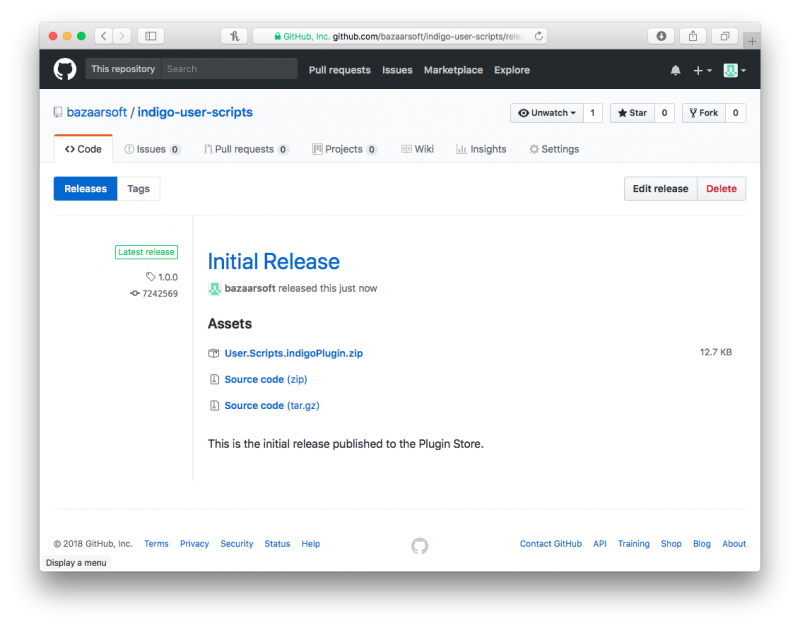
Done! You can now go to your Indigo Account and Add the Plugin. We'll collect the information from your Repository and create the Plugin Store entry. You can edit parts of it at a later time, and if you create a new release on GitHub just edit and save it from your Indigo Account and we'll add the release. Be sure to look through the Plugin Store Guidelines for a lot more information about plugin folder construction and other things.